Week 5: 3D Printing
This week we learned how to create and 3D print different 3D models. The process involved first, trying to design an object using an AutoCAD software, then putting this object in some sort of slicer, and then finally printing these objects using a 3D printer of our choice.
Before I explain my 3D design process, I want to show you my final products. These include a model of a lion for my roommate Caleb, and a Bulgarian doll for the Bulgarian holiday Marta Baba (Grandma March).

Step 1: Auto CAD Design
For my project, I used an online Auto CAD software called OnShape. This works functionally like Auto Desk Fusion 360, but can be accessed from any computer because it is purely web-based. It also helps streamline project design and management, and also has features like Fusion 360 for visualizing builds and movements of and between 3D parts.
The first thing I designed was a doll for the Bulgarian festival Mama Barta (Grandma March). On this day, the first of March, it is customary to give friends a bracelet with a doll on it. So, I wanted to 3D print a doll for my friend Dim. To do this, I created sketches in On Shape, used the extrusion feature, and used the draft function to get conical structures. I also used the fillet function to get smoother edges. I also tried the text etching function to get the text "Marta Baba" Here is what my 3D STL file looked like.

After designing this doll, I also needed a birthday present for my roommate Caleb. I wanted to make a lion, because that is the mascot of our house, Mather House (more commonly known as the best house in all of Harvard). To design this lion, I used the import function in On Shape. This lets you choose from a repository of public projects. I imported this lion stl and made slight edits to sizes and some of the edges. My final 3D model, based mostly on the imported file, looks like:

Step 2: Slicing and Printing
I worked in a lab this summer that gave me access to the FormLabs 2 resin printer in the basement of Northwest Labs. To print on this printer, I used the slicer Pre Form to orient and add supports to my models. The preform software also gives me an estimated print time, and helps me see if there are any cupping areas (where resin can pool during the print) or unsupported areas (where the print can fall down).

Then, six hours later, my prints came out! The next steps were to post cure these prints using IPA solution and then a UV post curing chamber. This gets rid of excess uncured resin, and leaves the prints feeling smooth and sharpens their features.
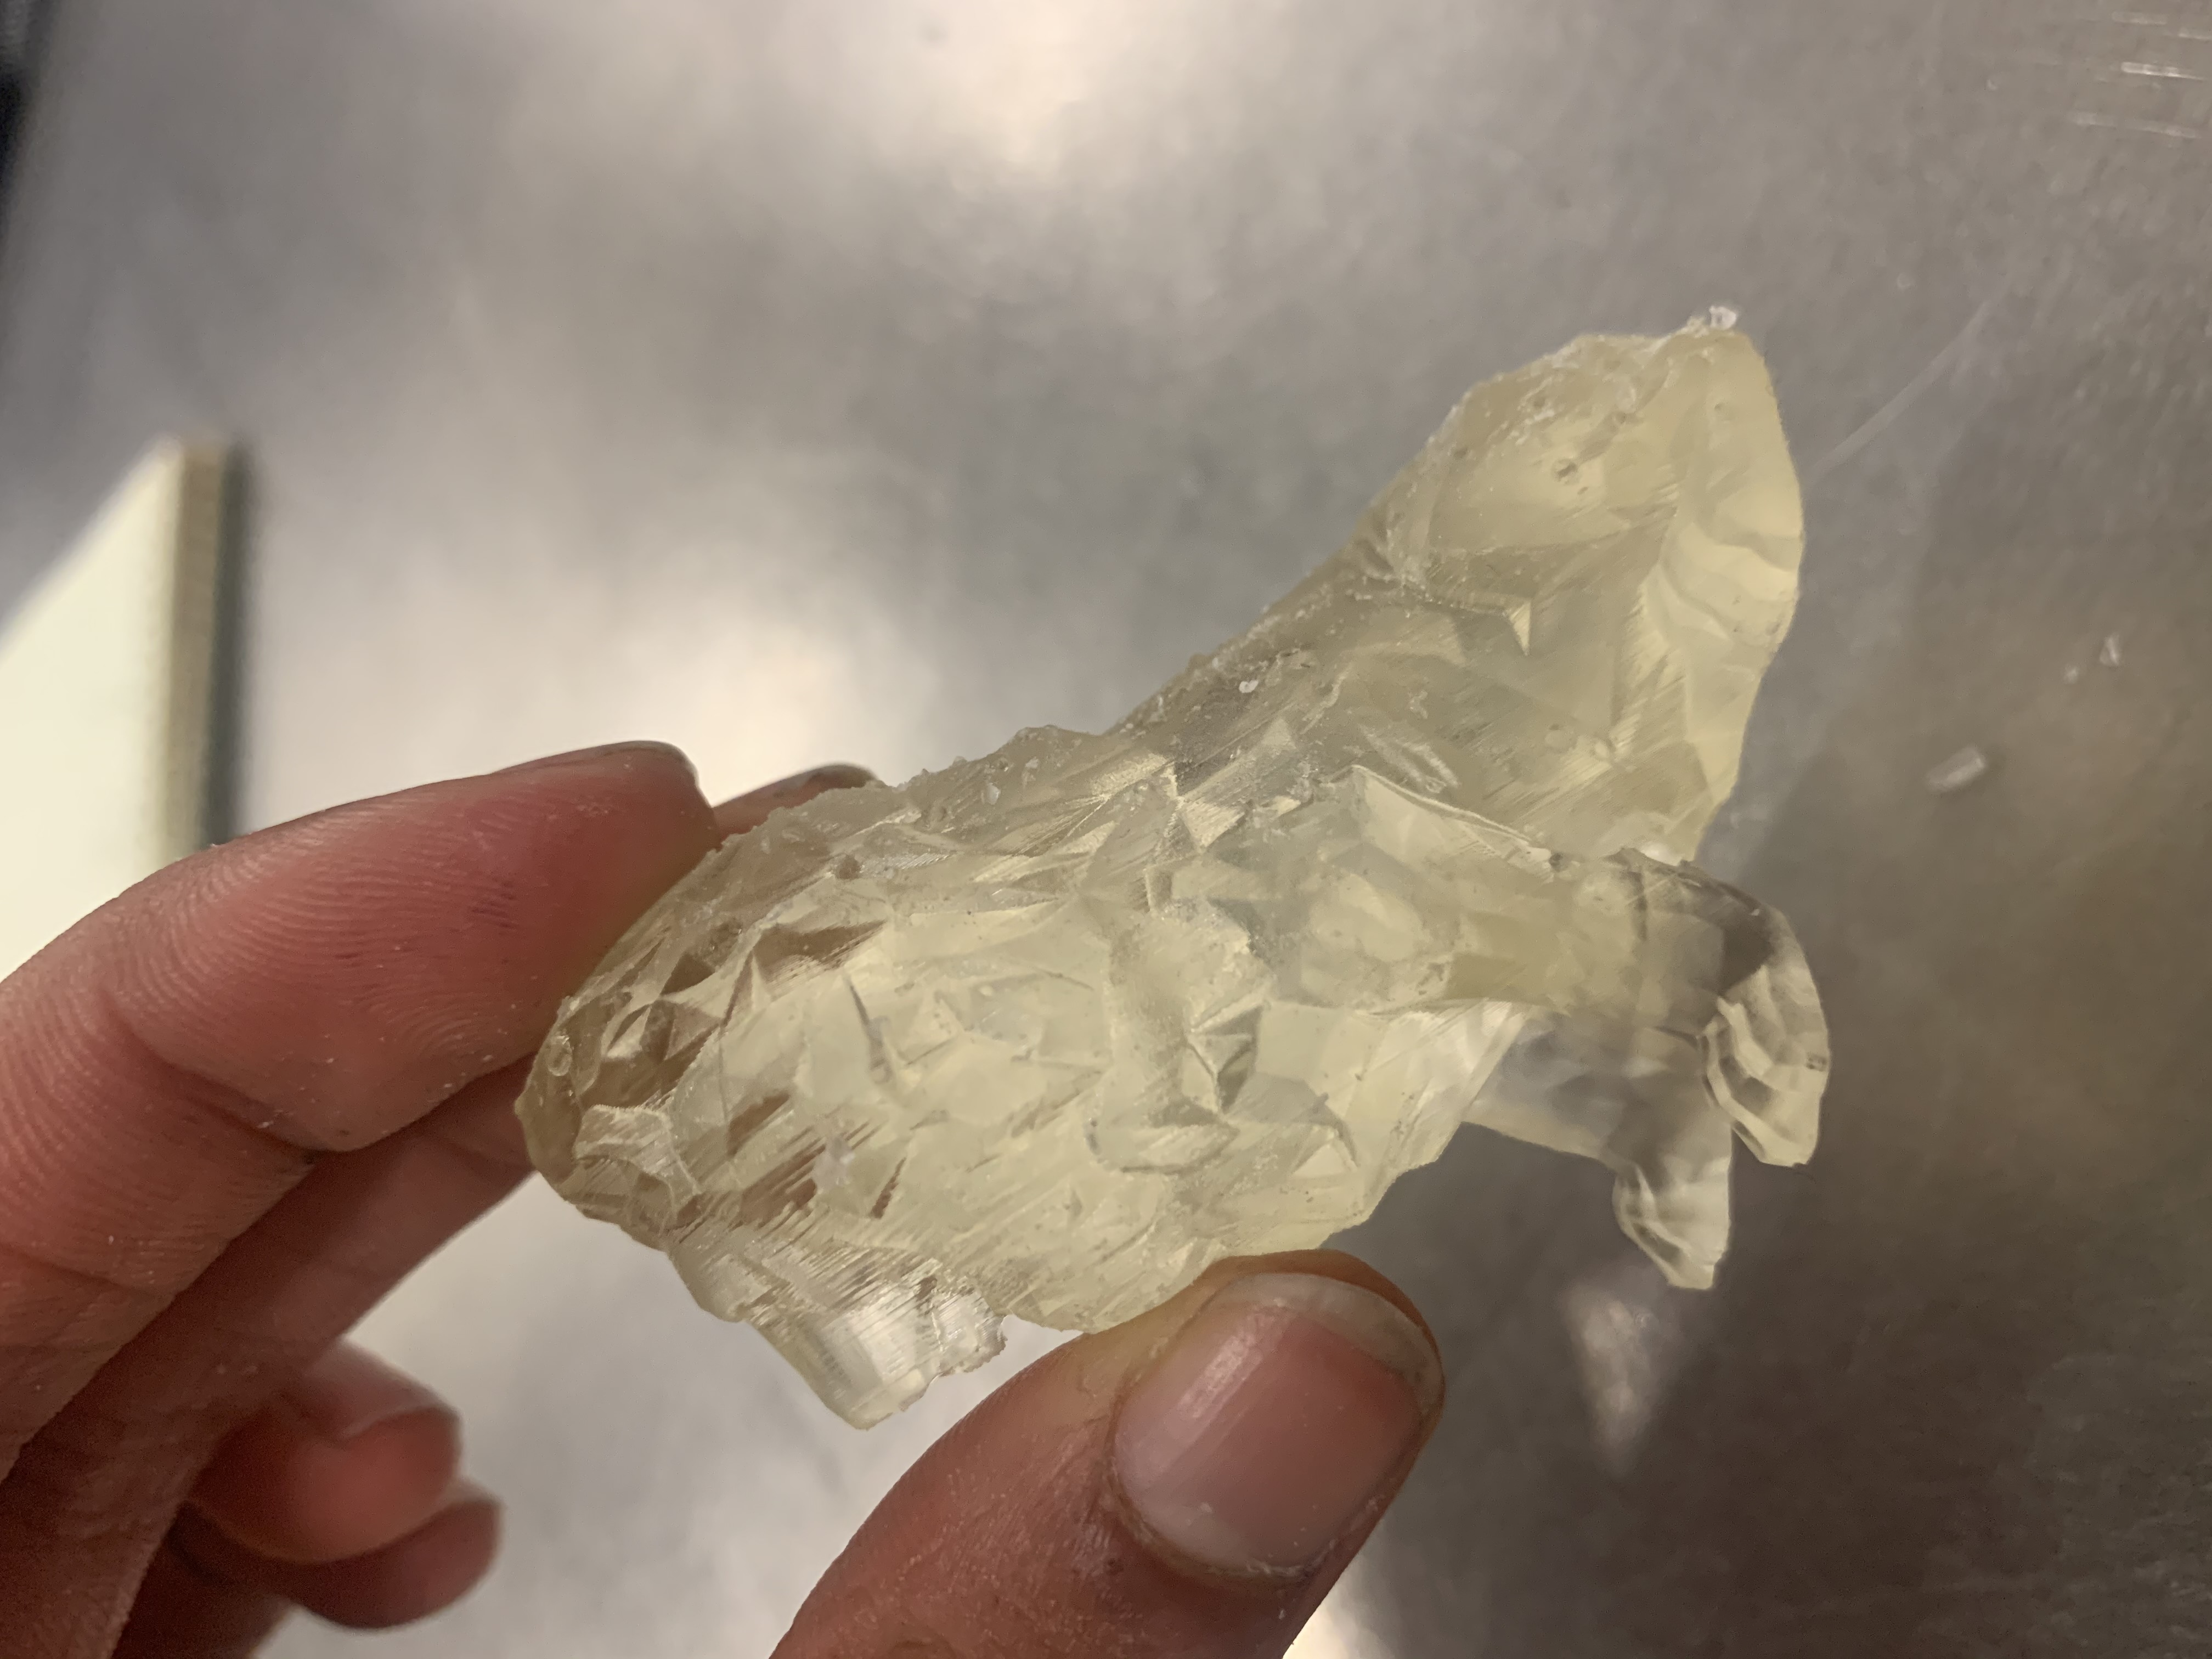
.Here is what my lion print looked like after it came out.

I then used a snipper to cut off the supports for the lion, and my prints then looked like:


Final Design
I wanted to decorate the doll for Dim. To do this, I used multiple lines of thread, markers, and streamers. I used the colors red and white because those are traditional

BUT WAIT. In the middle of this decoration process, I also ended up snapping off the dolls head, which truly added to the creepiness factor. So, using a red circular screw cap, and some super glue, I re-made the dolls head. I also wanted to make a structure to hold the doll. So, using some laser cutting scraps (from Fouzia's last project), some popsicle sticks, and wood glue, I made an enclosure with a staircase to hold the doll and a candle, and made my structure into a doll candle holder for Mama Barta. This final product looked like: